PlACo 用户文档
PlACo Document
Introduction
- PlACo (Platform of Assignment and Coding) is an integrated platform with a streamlined user interface
- Our design combines the functions of Blackboard(an assignment submission platform) and Online Judge(a programming judge platform)
- Our supported functions include (details seen in Usage):
- Customized settings
- Assignment submission
- Programming problem submission
- Online judge
Installation
By source code
- Clone frontend source code
1 | git clone [repo-address] -b frontend/main |
- Install necessary packages
1 | npm install |
- Run in develop mode
1 | npm run dev |
- Build the project (or you can run it in a Docker container)
- we use normal next.js framework, so you can view next.js deployment for this deployment
Usages
Login
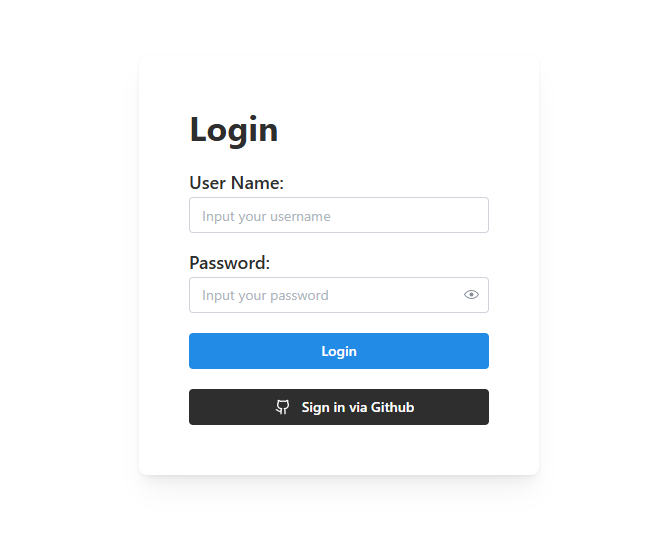
- In
Loginpage, users can input Username and Password for login. - If you are a new user, feel free to sign in via Github, and we will register a new user for you!
Users
Intro
- Users have normal authority in PlACo. Also, they may have different authorities according to their
rolein a specific course
Schedule and Settings
- There is a
Tabat the Header of 🏠main page (after you login). Click theScheduleto enter 📆schedule page. - You can check all the upcoming assignments of all courses that you attend in a table.
- There is a button “View Calendar” to see the assignment DDL in a calendar.
- There is a button “Add Entry” that you can add your own schedule
- Input entry’s name and due time to create a new entry
- There is a
Menuat the up-right of main page. Click theSettingto enter setting page - You can change your
usernameandpasswordof your account. Just input a new one and clickupdate. - There is a switch that you can turn to dark mode. The default mode is light, but we will keep your customized setting.
Course Intructor
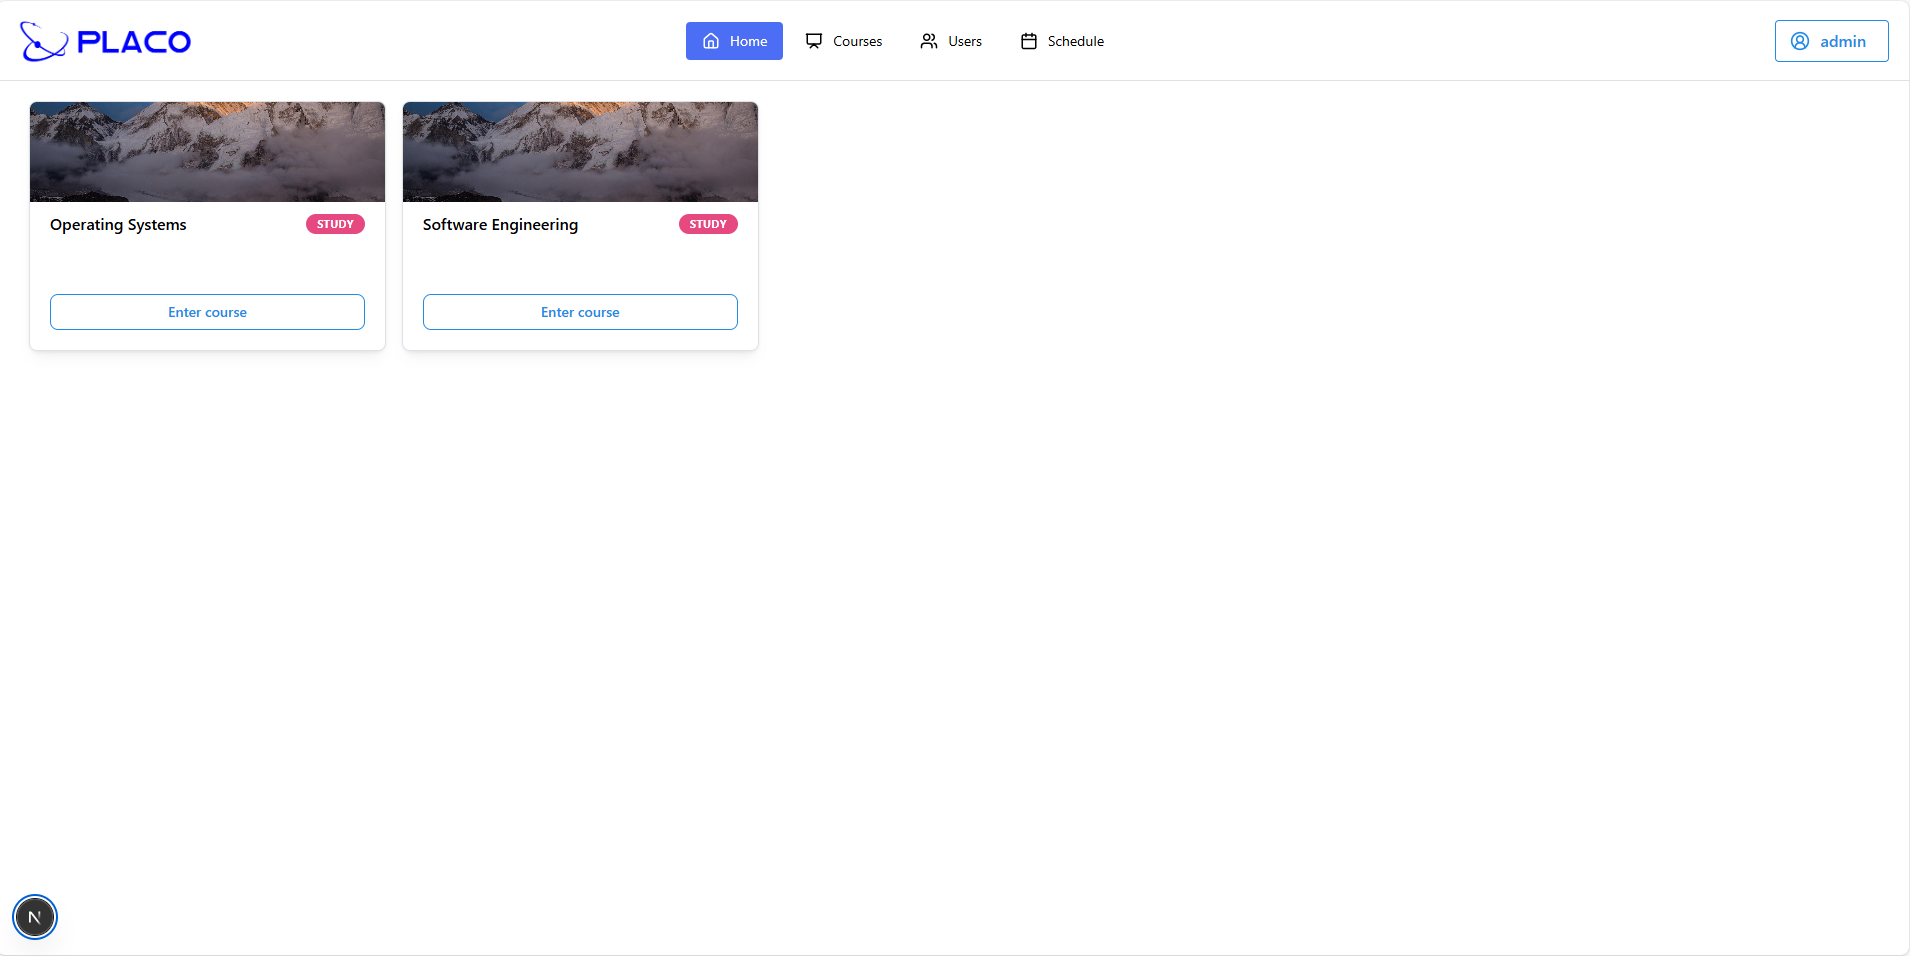
🖋️ IMPORTANT! In a specific course, you will have a “role”, a teacher (
INSTRUCTOR) or a student (STUDENT).🖋️ IMPORTANT! Your role is specified by the administrater, and you can view your role of a course on the “course card” in 🏠main page.
- If you are INSTRUCTOR of a course, you can create assignments (following steps) at the first page you enter a course.
- Click the
Create Assignmentbutton - Input all necessary items (e.g. assignment title, type, due date, full mark and max attempts)
- you can set assignment type to
TEXTorCODE. You are given different operations on different mode.
- you can set assignment type to
- You can submit files as assignment documents, you can also add document after create this assignment.
- You can enable OCR service to check students submission after convert them from hand-written version to type-version.
- Click the
- A navbar is offered to select assignment that you can view details and operate.
- For a TEXT assignment, you can:
- click
Modifybutton to change publish time, due time, full mark and enable-OCR state. - preview your submitted documents by clicking
Previewbutton of each file - click
Add documentsorDelete documentsto add or delete document files. - 🖋️ IMPORTANT! check students’ submissions information:
- click link
View Detailsto preview files that students submit (if exists) - input scores and click
savebutton to score for this submission - click
Publish Scoresto make them available to students if Due time is expired and all students’ submissions are scored.
- click link
- click
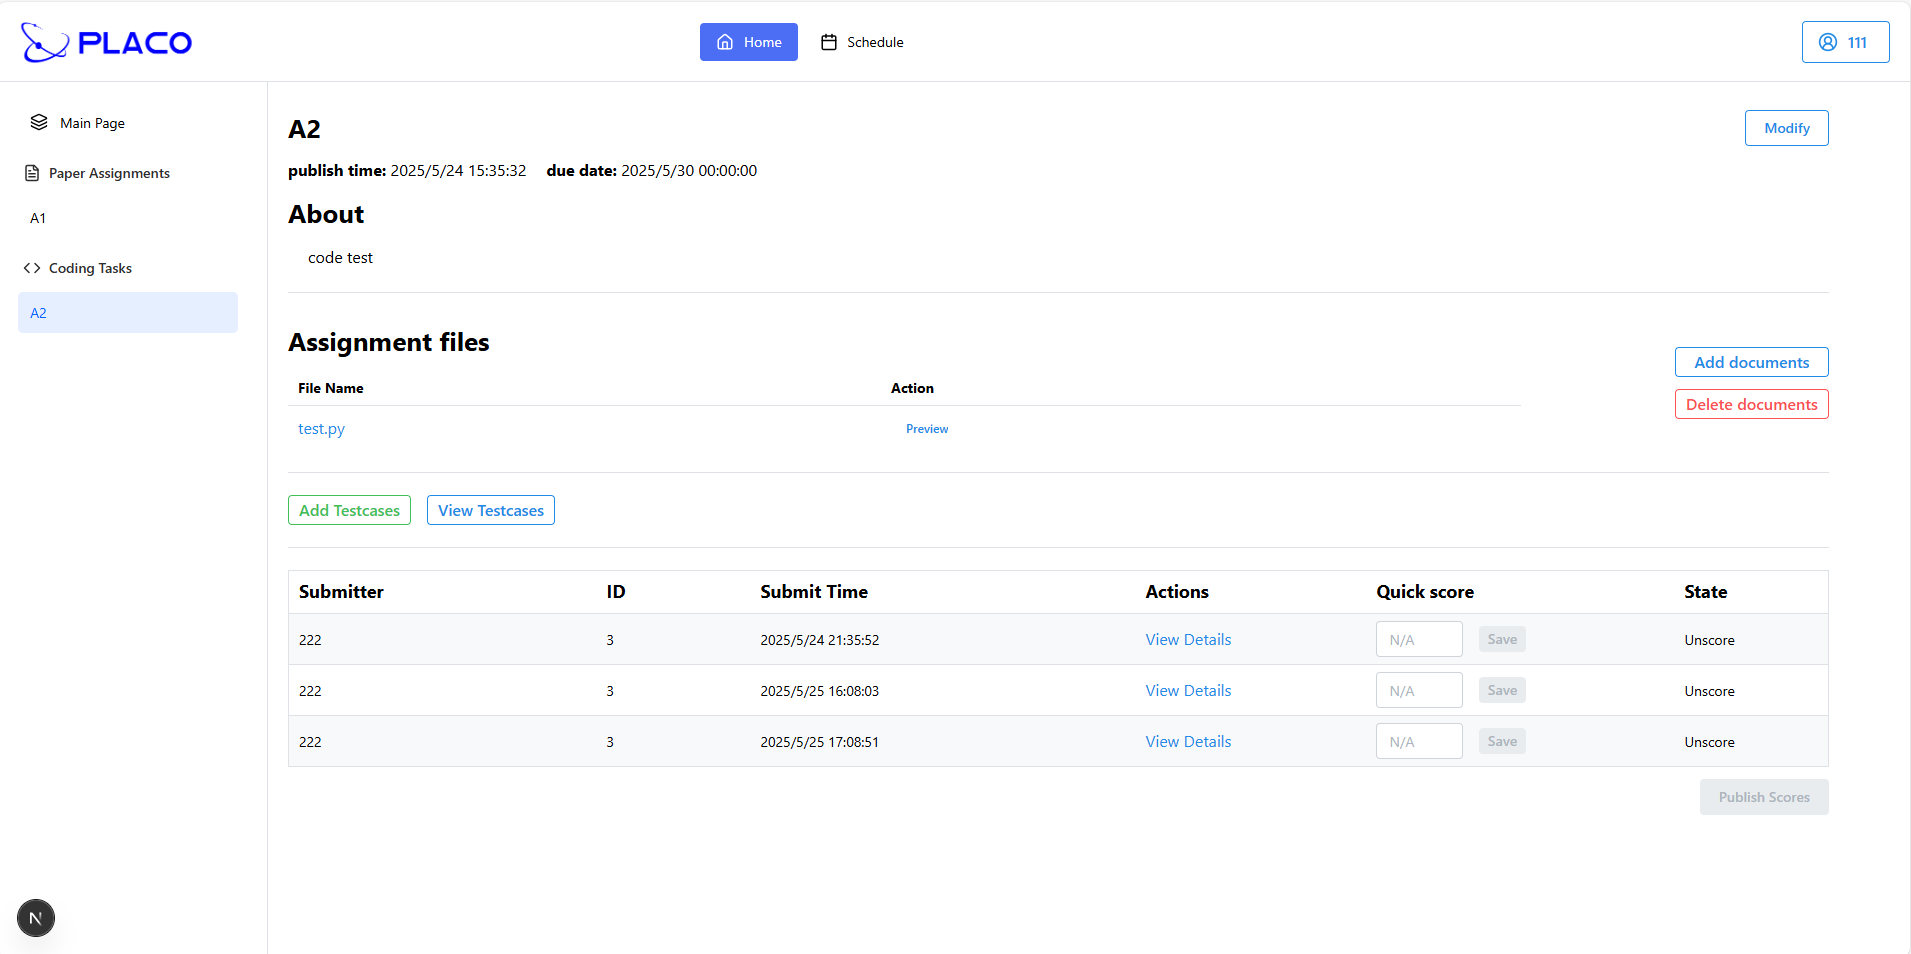
- For a CODE assignment, you can:
- also modify assignment information and add/delete documents
- You can add testcases by clicking
Add Testcasesbutton:- then set all necessary configuration of a testcase (detailed description inside this page)
- you can upload an input file and an expected output file as “testcase”
- then add this testcase to the testcase list (you can add multiple testcases!)
- at last, you can click
Confirm Allto upload all testcases at a time
- You can click
View Testcasesbutton to delete a testcase or view details like:- CPU time limit, global time limit, memory limit, stack limit
- Input file content, output file content, enabled attributes
- there is also a table showing students’ submissions. You can view files that students submit, BUT you can’t score because we have a judge service to score it automatically.
Course Student
- As a student in a course, you can submit assignment or code and check out your scores.
- For a TEXT assignment, you can:
- click
Pick filesto upload file for a submission - this page will only show your latest submission (view submit time on the right)
- You can view your score if teacher publish it. (on the right)
- click
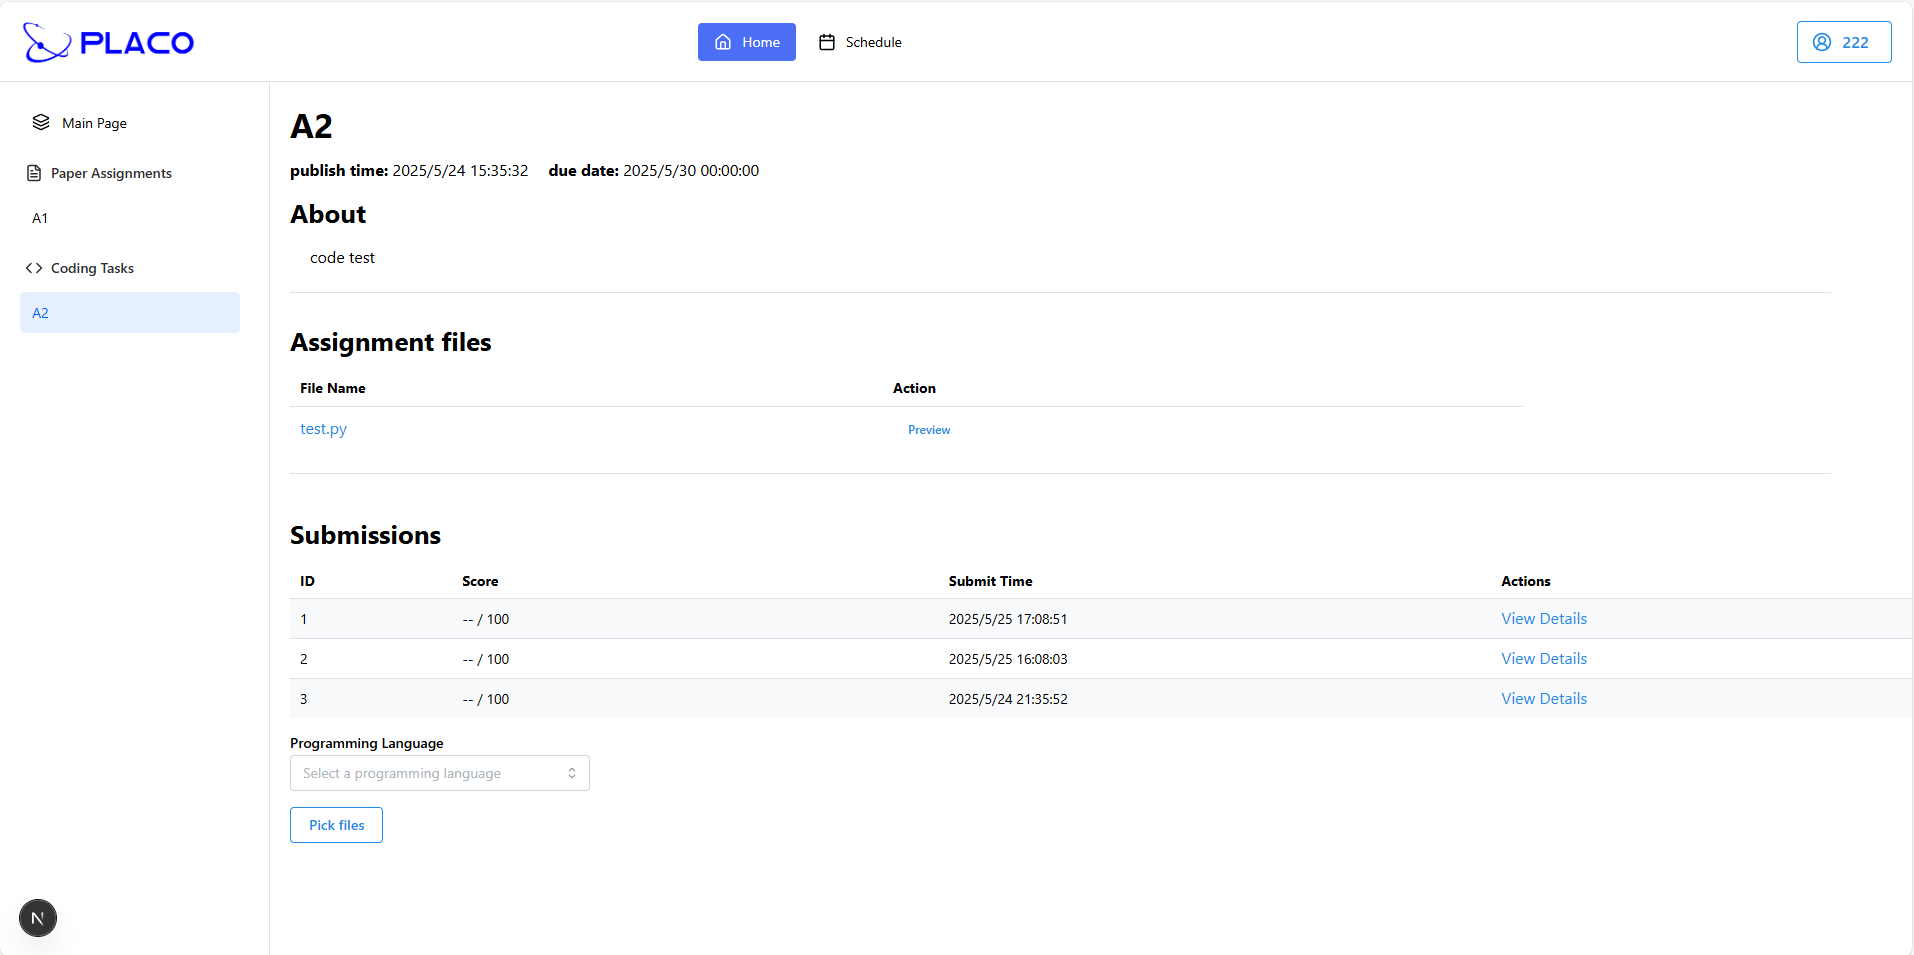
- For a CODE assignment, you can:
- click
Pick filesand Choose programming language to make submission - this page will show all your submissions ordered by submit time (desc.)
- you can click link
View Detailsto see each of your submissions and check results of all testcases (if exists)
- click
Code assighments are judged by auto service, so you MUST choose programming language before submitting
Administrater
Intro
- ADMINs have all authority that users have. And they also have authority to register new users and new courses.
- Compared to Users, administraters have 2 more tabs on hearder.

Manage Courses
- Click
Coursestab to manage courses - You can:
- click one existed course to add/delete members as instructor/student (all enable to search and choose)
- click
Create Coursebutton to create new course- You can initialize course attributes (name, instructors, students) to create one single course
- You can also upload a CSV file in formal format & order to create multiple courses.
Manage Users
- Click
Userstab to manage users - You can:
- check a user’s information and deactivate it (after that, this user cannot login)
- register a new user by clicking
Newbutton:- You can initialize user attributes (email, username, password, role) to create one single user
- You can also upload a CSV file in formal format & order to create multiple users.
Contributing
Contributors
-
Now our group have 4 members: fest6, LatiosInAltoMare, zxx3312, HQJ2221.
-
Two of us working for backend, and the other two for frontend. We all do part of testing, and our PM complete deployment.
-
If you want to contribute to our code, please refer to Developer Document(wait for publishment).
License
MIT License
------------- 本文结束 感谢阅读 -------------